Shaker peg rails are highly efficient in helping you organize and showcase various items in a minimalist and efficient way. In their recent revamp of a small apartment in NYC, stylists Anthony Santelli and Drew Welsh from One Kings Lane opted to design their own version of the peg rails, incorporating a contemporary design, a stylish painted finish, and an added top shelf. Continue reading to discover their detailed instructions for this adaptable do-it-yourself project.
What you’ll need:
To make a wooden project, you will need the following materials: wooden planks measuring 1 inch by 6 inches in the desired length, a wooden dowel with a diameter of 1 1/8 inch, a miter box and saw, 220-grit sandpaper, a metal ruler, a drill and a spade drill bit with a diameter of 1 1/8 inch, wood glue, a small brush, wood screws, a cotton rag, a rubber mallet, and latex primer and paint.
Step 1: Measure
First, decide on the desired length of your peg rail. We suggest constructing longer rails in separate parts to facilitate installation. For instance, our eight-foot rail is comprised of two four-foot sections. Use the wood planks to fashion a backing board and shelf for each section of the rail. (Please note that numerous hardware stores offer lumber cutting services according to your requirements.)
To determine the placement of the pegs, start by finding and marking the center point of the rail. Next, draw a line down the entire length of the rail, starting from this point. While you have the flexibility to choose the number of pegs and the distance between them, it is recommended to space the pegs evenly. Additionally, ensure that the distance between the last peg and the edge of the rail is consistent at both ends.
Step 2: Create the Pegs
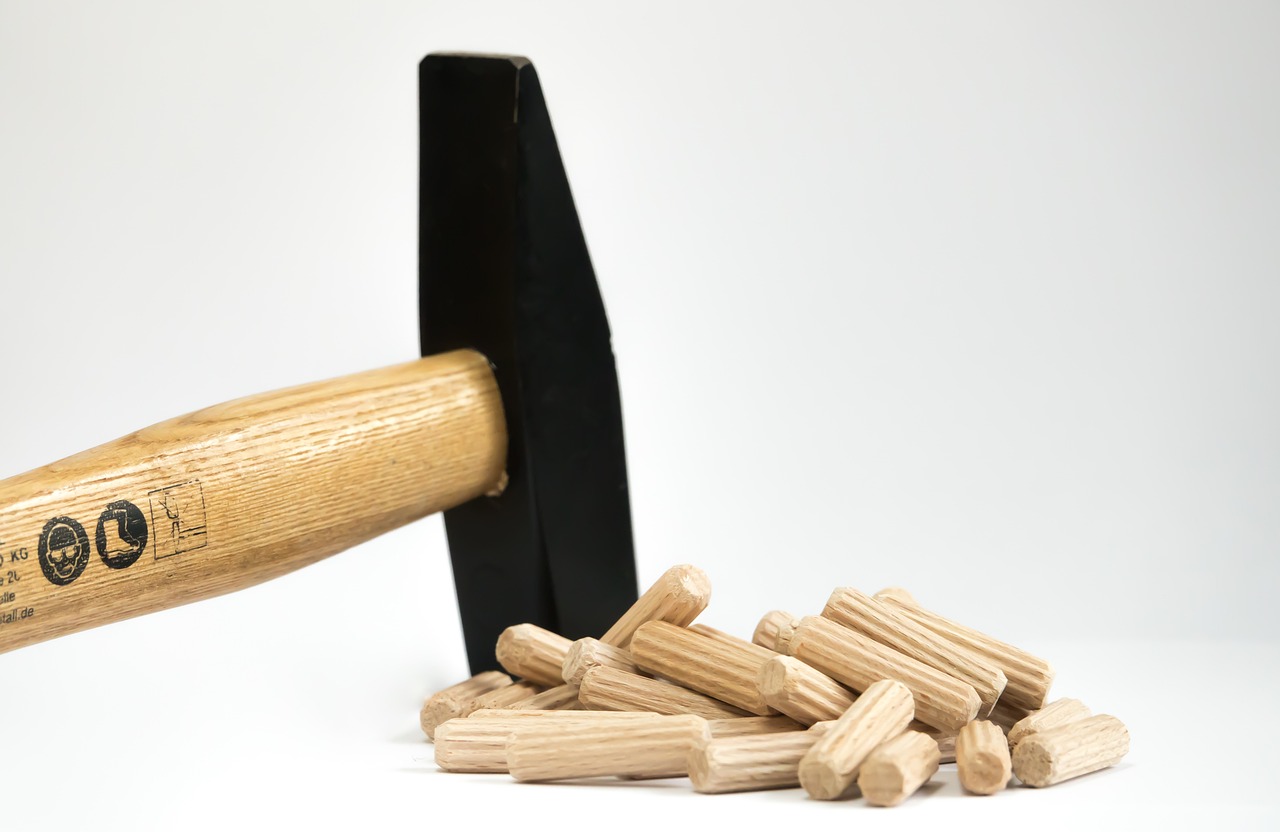
To cut separate 5-inch pegs from the wooden dowel, use a miter box and saw, and sand any rough edges. Utilize the spade drill bit to create holes for each peg on the backing board at the predetermined points, and use sandpaper to eliminate any chips or splinters around the holes.
Step 3: Glue
To begin, place the backing board on a steady surface in a flat position. Apply a small quantity of wood glue to one end of a wooden peg and gently twist it into one of the holes. Use a damp cotton rag to wipe away any surplus glue. Repeat this process with the remaining pegs. Remember to ensure that the inserted ends are aligned with the back of the board. If necessary, utilize a rubber mallet to make adjustments to the positioning of the pegs. Give the glue sufficient time to dry completely.
Step 4: Attach the Shelf
Start by positioning the shelf on the backing board, ensuring that the edges align perfectly. Proceed to measure and mark the spacing for wood screws at 6-inch intervals along the entire length of the shelf. To prevent any cracking or splitting of the wood, utilize a small drill bit to create pilot holes before attaching the shelf to the backing board using wood screws. Ensure that the screws are flush with the top surface of the shelf.
Step 5: Paint
Begin by priming the peg rail, opting for the Egyptian Onyx in an eggshell finish provided by One Kings Lane Paint. Once the primed surface is dry, proceed with applying the paint. It is essential to ensure that the paint is thoroughly dried before proceeding to install the rail, utilizing suitable mounting hardware depending on the type of wall you have.
Enjoy the streamlined storage you now have!
ADVANTAGES OF WOOD FURNITURE
In the past, furniture was typically constructed from wood. However, with the industrial revolution, the use of materials like steel, aluminum, glass, and plastic in furniture production became more prevalent. While these materials brought about significant changes in the industry, wood remains an essential material in furniture manufacturing. Wood not only lasts indefinitely but also possesses a timeless quality. Whether it is a wardrobe in the living room or a seat in the dining area, manufacturers of wooden furniture successfully blend enduring elegance and sturdy functionality with modern or rustic styles.
The undeniable benefits of wooden furniture can be experienced when it is combined with steel or glass furniture, as the wood’s inherent beauty will enhance the room with warmth and character.
Wood furniture is known for its strength and durability, requiring minimal maintenance. It is a natural material that can endure constant abuse, such as spills and scratches, lasting for generations with minimal care. Maintaining wood furniture is effortless, as you simply need to regularly wipe the surface with a wood cleaner. It is important to prevent water and dust from settling on the furniture for long periods. Adding a piece of wood furniture to a room will completely transform its appearance, providing elegance, charm, and sophistication. While the initial cost of solid wood furniture may be higher compared to other materials, its value is greater. The natural grain of wood ensures that each piece is unique. Depending on your budget, you can choose furniture made from softwood like pine or opt for harder, more exotic woods. Additionally, wood furniture can be modified over time by sanding, staining, or painting, allowing for a completely new look.


