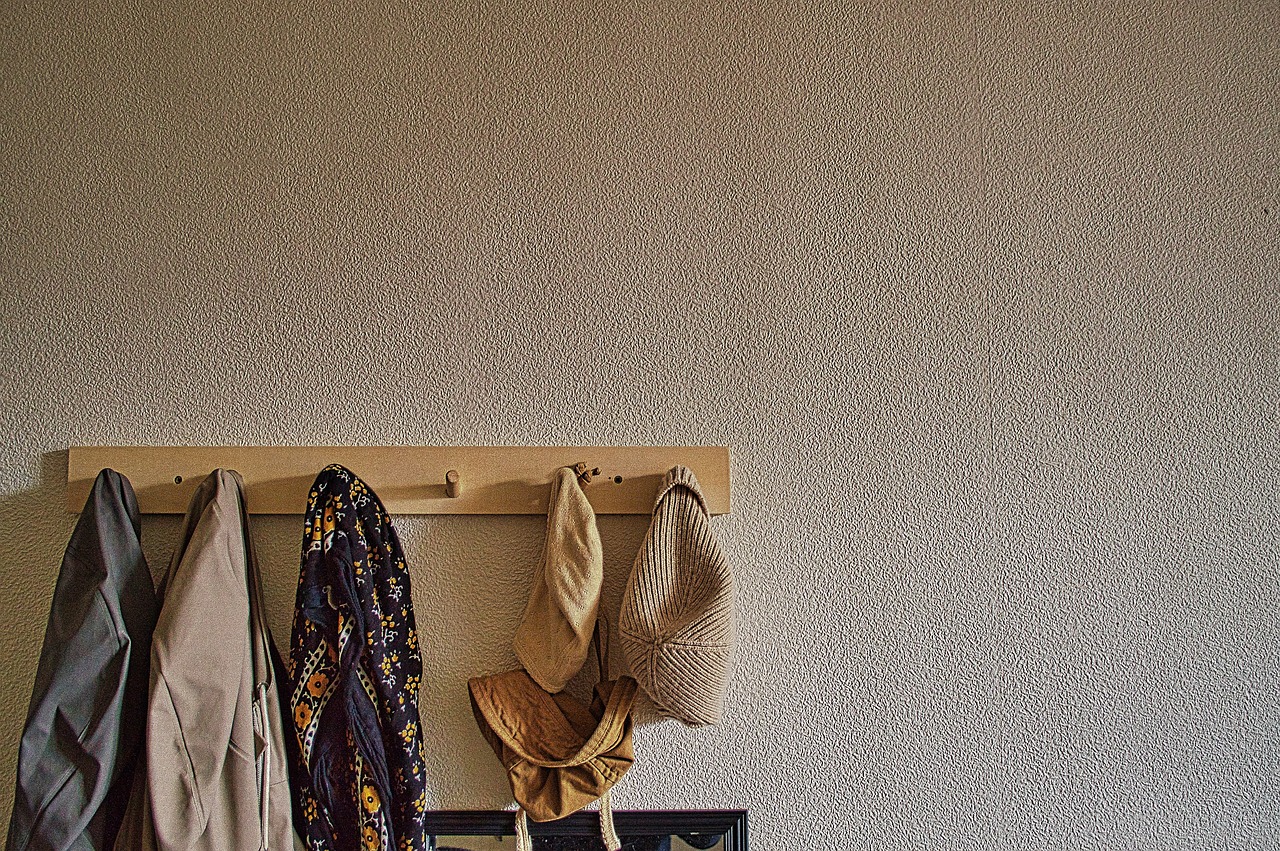
Although this project might seem daunting, if you give it a shot, you will realize that it is achievable and the outcomes will make you happy. It will only take you a morning to assemble peg rail measuring 130″.
The Material List
Collect the necessary materials as the initial step.
- Drill with 1/2″ spade
- Wood glue or liquid nails
- Measuring Tape
- Level
- Square
- Rubber mallet
- Wet rag
- Gloves (optional)
- Miter saw or circular saw (You can also have your wood cut to size at home improvement stores.)
PEG RACK MATERIALS NEEDED
- Shaker Pegs
- Wood for back board
- Wood filler
For my project, you have the option to utilize 1×6 select pine.
Poplar is a reliable alternative for long-lasting furniture. You have the freedom to select the desired size of the wood, ensuring sufficient room for the shaker pegs. Opting for 1x4s provides a contemporary and sleek appearance, while 1×6 to 1×8 sizes offer a more classic aesthetic.
WOODEN PEG RACK PROCESS
To begin, trim the board to the appropriate measurements for the area where you intend to position it within your room. As my wooden peg rack encloses my mudroom, ensure that miter cuts are utilized at the corners.
MEASURE AND MARK SPACING
Afterward, create a straight line in the middle of the board as a reference point for positioning the shaker pegs.
After establishing your guide-line, you must decide the desired distance between the placement of your pegs.
A distance of three inches was too tight for convenient coat hanging, while five inches was insufficient for accommodating all my winter gear with enough pegs.
After deciding on the placement, utilize the measuring tape to indicate the positioning of each peg. Begin by measuring 3 inches from the end (to accommodate screws) and subsequently mark every 4 inches along the center line.
Ensure that you allocate enough space for the corner pegs when arranging your peg rail in a room. It is important to leave a gap of pegs on one wall to ensure that the pegs on the opposite wall can function properly, as overlapping would occur otherwise.
DRILL YOUR HOLES
Afterward, proceed with drilling the holes. If your shaker pegs have a 1/2″ tenon, you can utilize a 1/2″ spade to drill each hole. In case you possess alternative tools, there are several methods to drill the holes. Nevertheless, for beginners, this is the simplest approach.
GLUE (OR SCREW) YOUR PEGS IN
Afterwards, attach the pegs to the back board by either using liquid nails or wood glue, based on your availability. Wood glue is also an effective option. Ensure that the glue is paintable if you intend to paint your wooden peg rack.
To ensure the excess glue is removed, have a damp cloth ready while applying a bead of glue around the tenon of your peg, also placing some inside the drilled hole. Finally, use a rubber mallet to gently tap the peg in.
Once you let your pegs dry following the glue instructions, you will be finished!
INSTALL AND PAINT
After your glue is completely dry, attach your peg rack to studs using screws. Ensure that the holes are countersunk to allow the screws to be concealed with wood filler, achieving a smooth finish.
Afterwards, make sure to seal your corners and seams with caulk, and finish the task by painting!
ADVANTAGES OF WOOD FURNITURE
In the past, furniture was predominantly crafted from wood. However, with the advent of the industrial revolution, alternative materials like steel, aluminum, glass, and plastic started being used to make furniture. Although these materials brought about a revolution in the industry, wood continues to be an essential material for manufacturing furniture. Wood not only has an enduring quality, but it also possesses an ageless charm. Whether it’s a wardrobe in the living room or a dining chair, manufacturers of wooden furniture skillfully blend timeless elegance and sturdy functionality with a modern or rustic aesthetic.
There is no denying the undeniable advantages of wooden furniture. When wood furniture is combined with steel or glass furniture, the inherent natural beauty of the wood will infuse warmth and character into any room.
Wood furniture is highly resilient and does not require much maintenance. It is a durable material that can withstand various forms of damage, such as spills in the kitchen or scratches in the dining room. With minimum care, solid wood furniture can last for generations. Maintaining wood furniture is easy as well. Regularly wiping the surface with a wood cleaner is sufficient, and it is important to prevent water or dust from settling on tables, chairs, or armoires for extended periods. The addition of wood furniture to a room can completely transform its appearance and atmosphere. It brings elegance, charm, and sophistication to any space. Although solid wood furniture may have a higher initial cost compared to furniture made from other materials, its value is greater. The natural grain of wood ensures that each piece of furniture is unique. Despite the higher upfront cost, the benefits of wood furniture will be enjoyed for many years. Depending on your budget, you can choose furniture made from softwood like pine or opt for harder and more exotic woods. One of the great qualities of wood furniture is its modifiability. Over time, it can be sanded, stained, or painted to give it a fresh and completely different appearance.


